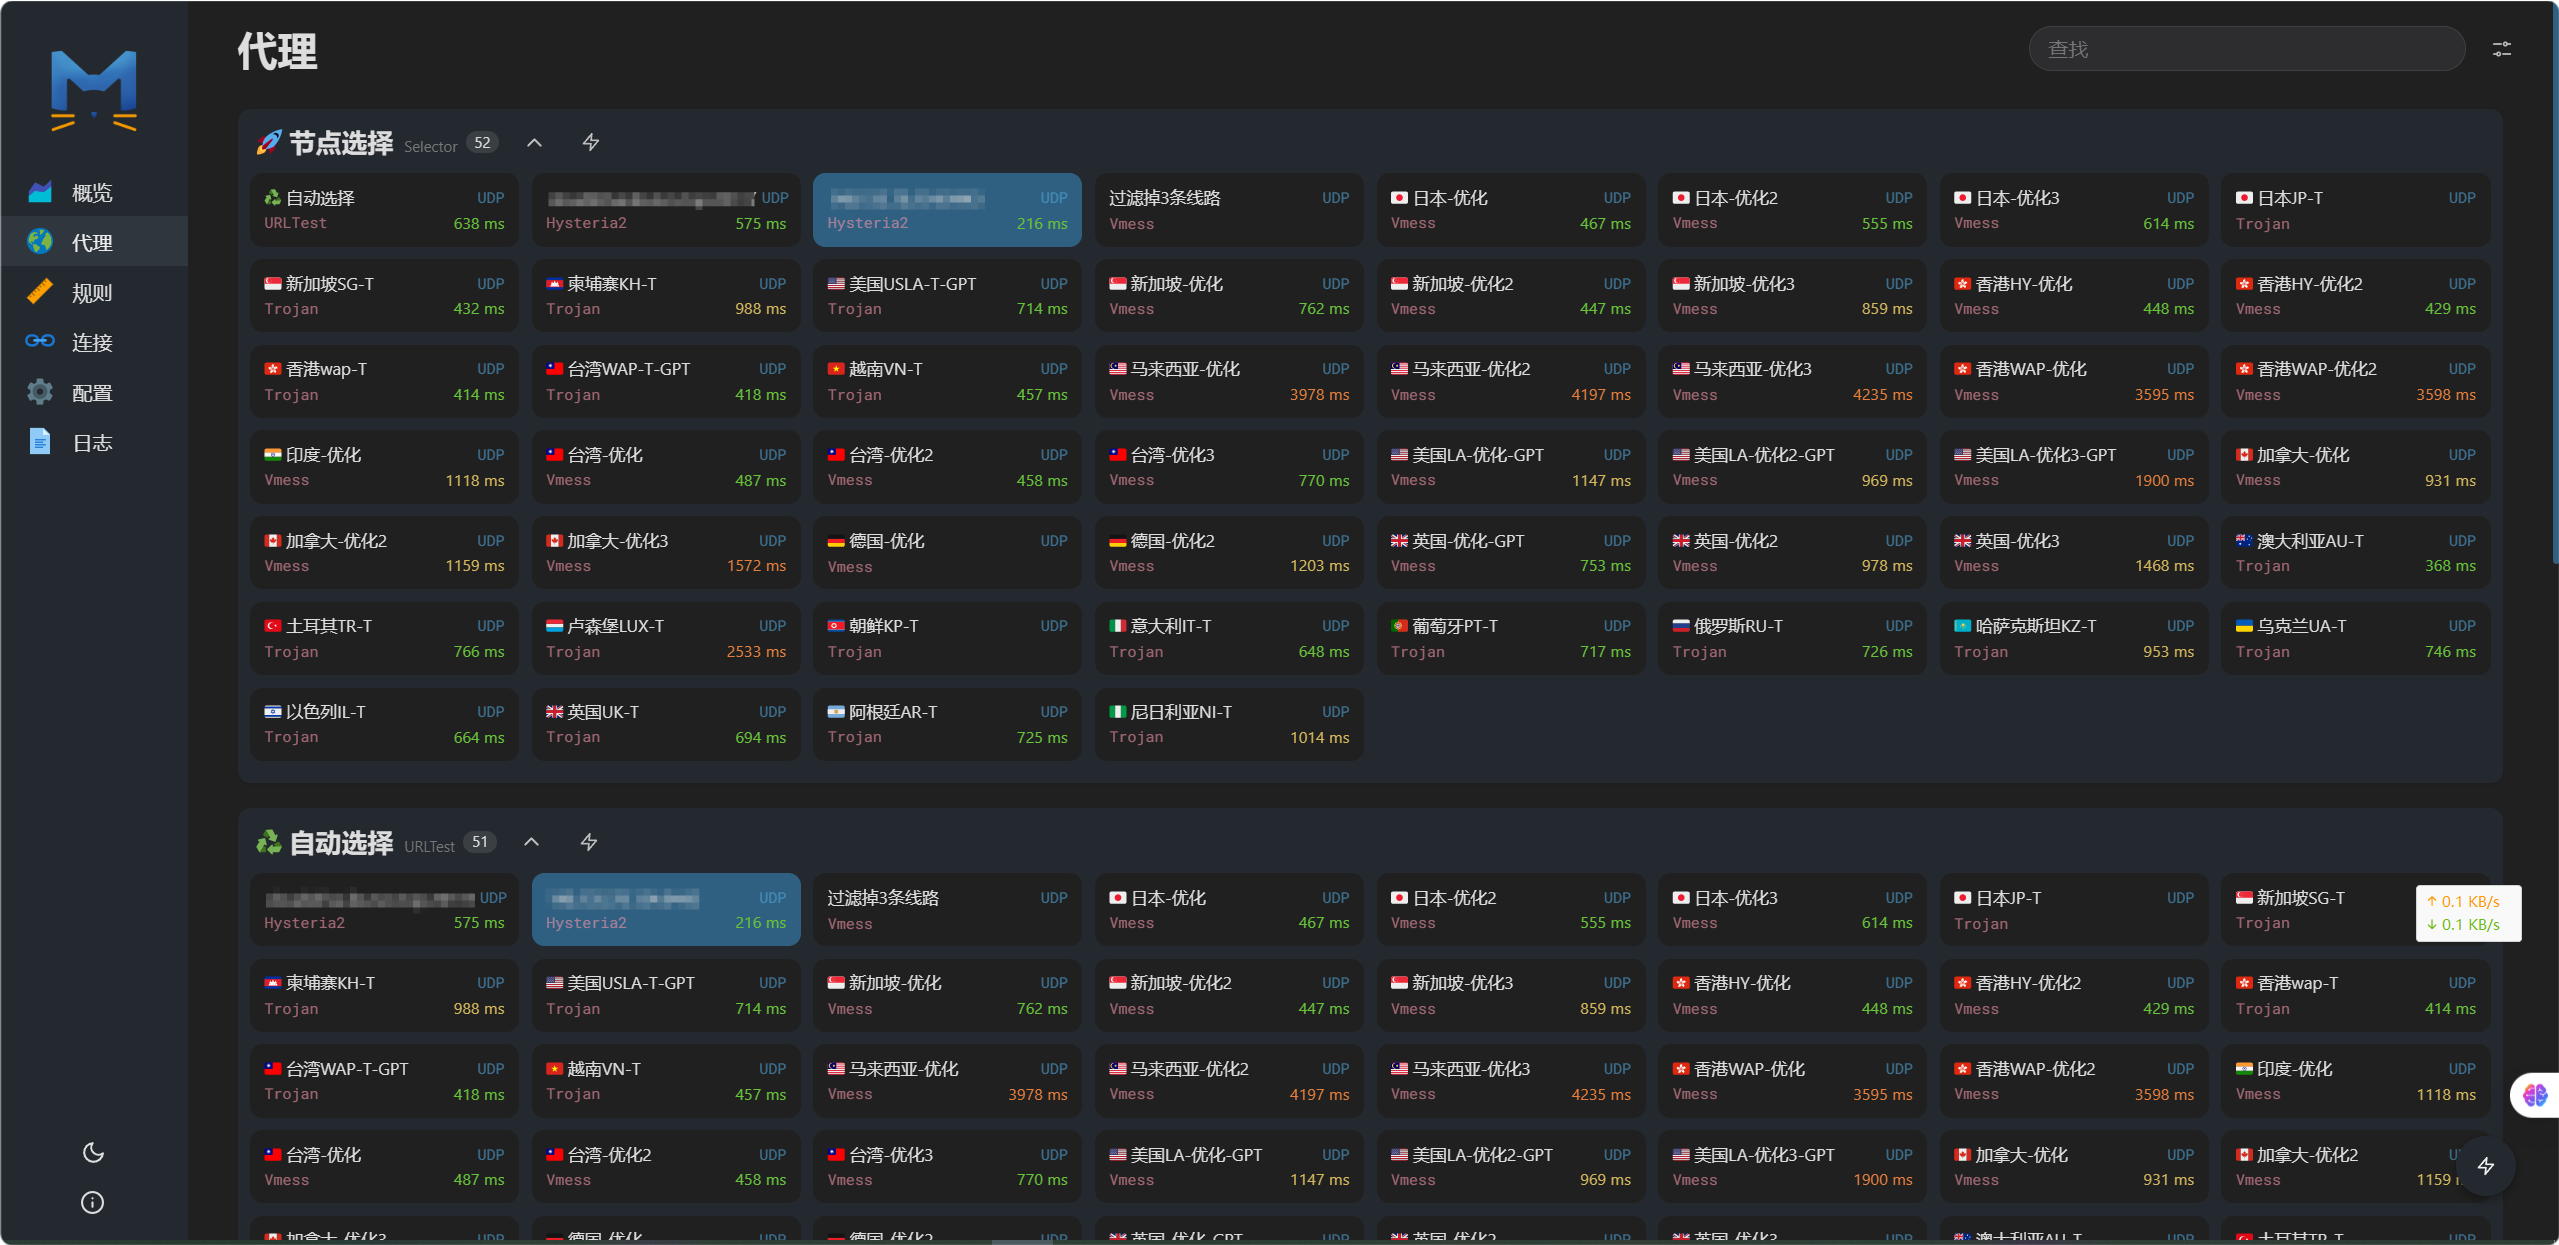
hysteria2代理工具
hysteria2代理工具
一键脚本
1
2
3
yum update -y && yum install wget -y && \
wget -N --no-check-certificate https://raw.githubusercontent.com/flame1ce/hysteria2-install/main/hysteria2-install-main/hy2/hysteria.sh && \
./hysteria.sh
安装步骤
安装wget工具
1
yum update -y && yum install wget -y
hysteria 2一键部署管理脚本:
1
wget -N --no-check-certificate https://raw.githubusercontent.com/Misaka-blog/hysteria-install/main/hy2/hysteria.sh && bash hysteria.sh
输入安装脚本后,选择数字1安装程序。
协议证书申请方式选择1。
端口可以自己填写想要的,也可以回车随机。
端口模式选择1,单端口模式。
端口可以自己填写想要的,也可以回车随机。
伪装网站地址回车。
最后出现这一步就成功了。
客户端配置信息存储在/root/hy/文件夹下,复制到客户端导入即可。hysteria2下载地址:https://github.com/apernet/hysteria/releases
将下载后的hysteria-windows-386.exe文件和config.json文件放在同一目录,双击运行hysteria-windows-386.exe就可以启动了。需要注意的是,默认的代理端口5678,那么浏览器代理端口也要填写socks5 127.0.0.1 5678 , 当然你也可以在客户端配置信息文件修改5678端口。
本文由作者按照
CC BY 4.0
进行授权

